---
title: "Jupyter Kernel for Deno"
oldUrl: /runtime/manual/tools/jupyter/
openGraphLayout: "/open_graph/cli-commands.jsx"
openGraphTitle: "deno jupyter"
description: "Write JavaScript and TypeScript in Jupyter notebooks thanks to Deno's built-in Jupyter kernel"
---
Deno ships with a built-in Jupyter kernel that allows you to write JavaScript
and TypeScript; use Web and Deno APIs and import `npm` packages straight in your
interactive notebooks.
:::caution `deno jupyter` always runs with `--allow-all`
Currently all code executed in the Jupyter kernel runs with `--allow-all` flag.
This is a temporary limitation and will be addressed in the future.
:::
## Quickstart
Run `deno jupyter` and follow the instructions.
You can run `deno jupyter --install` to force installation of the kernel. Deno
assumes that `jupyter` command is available in your `PATH`.
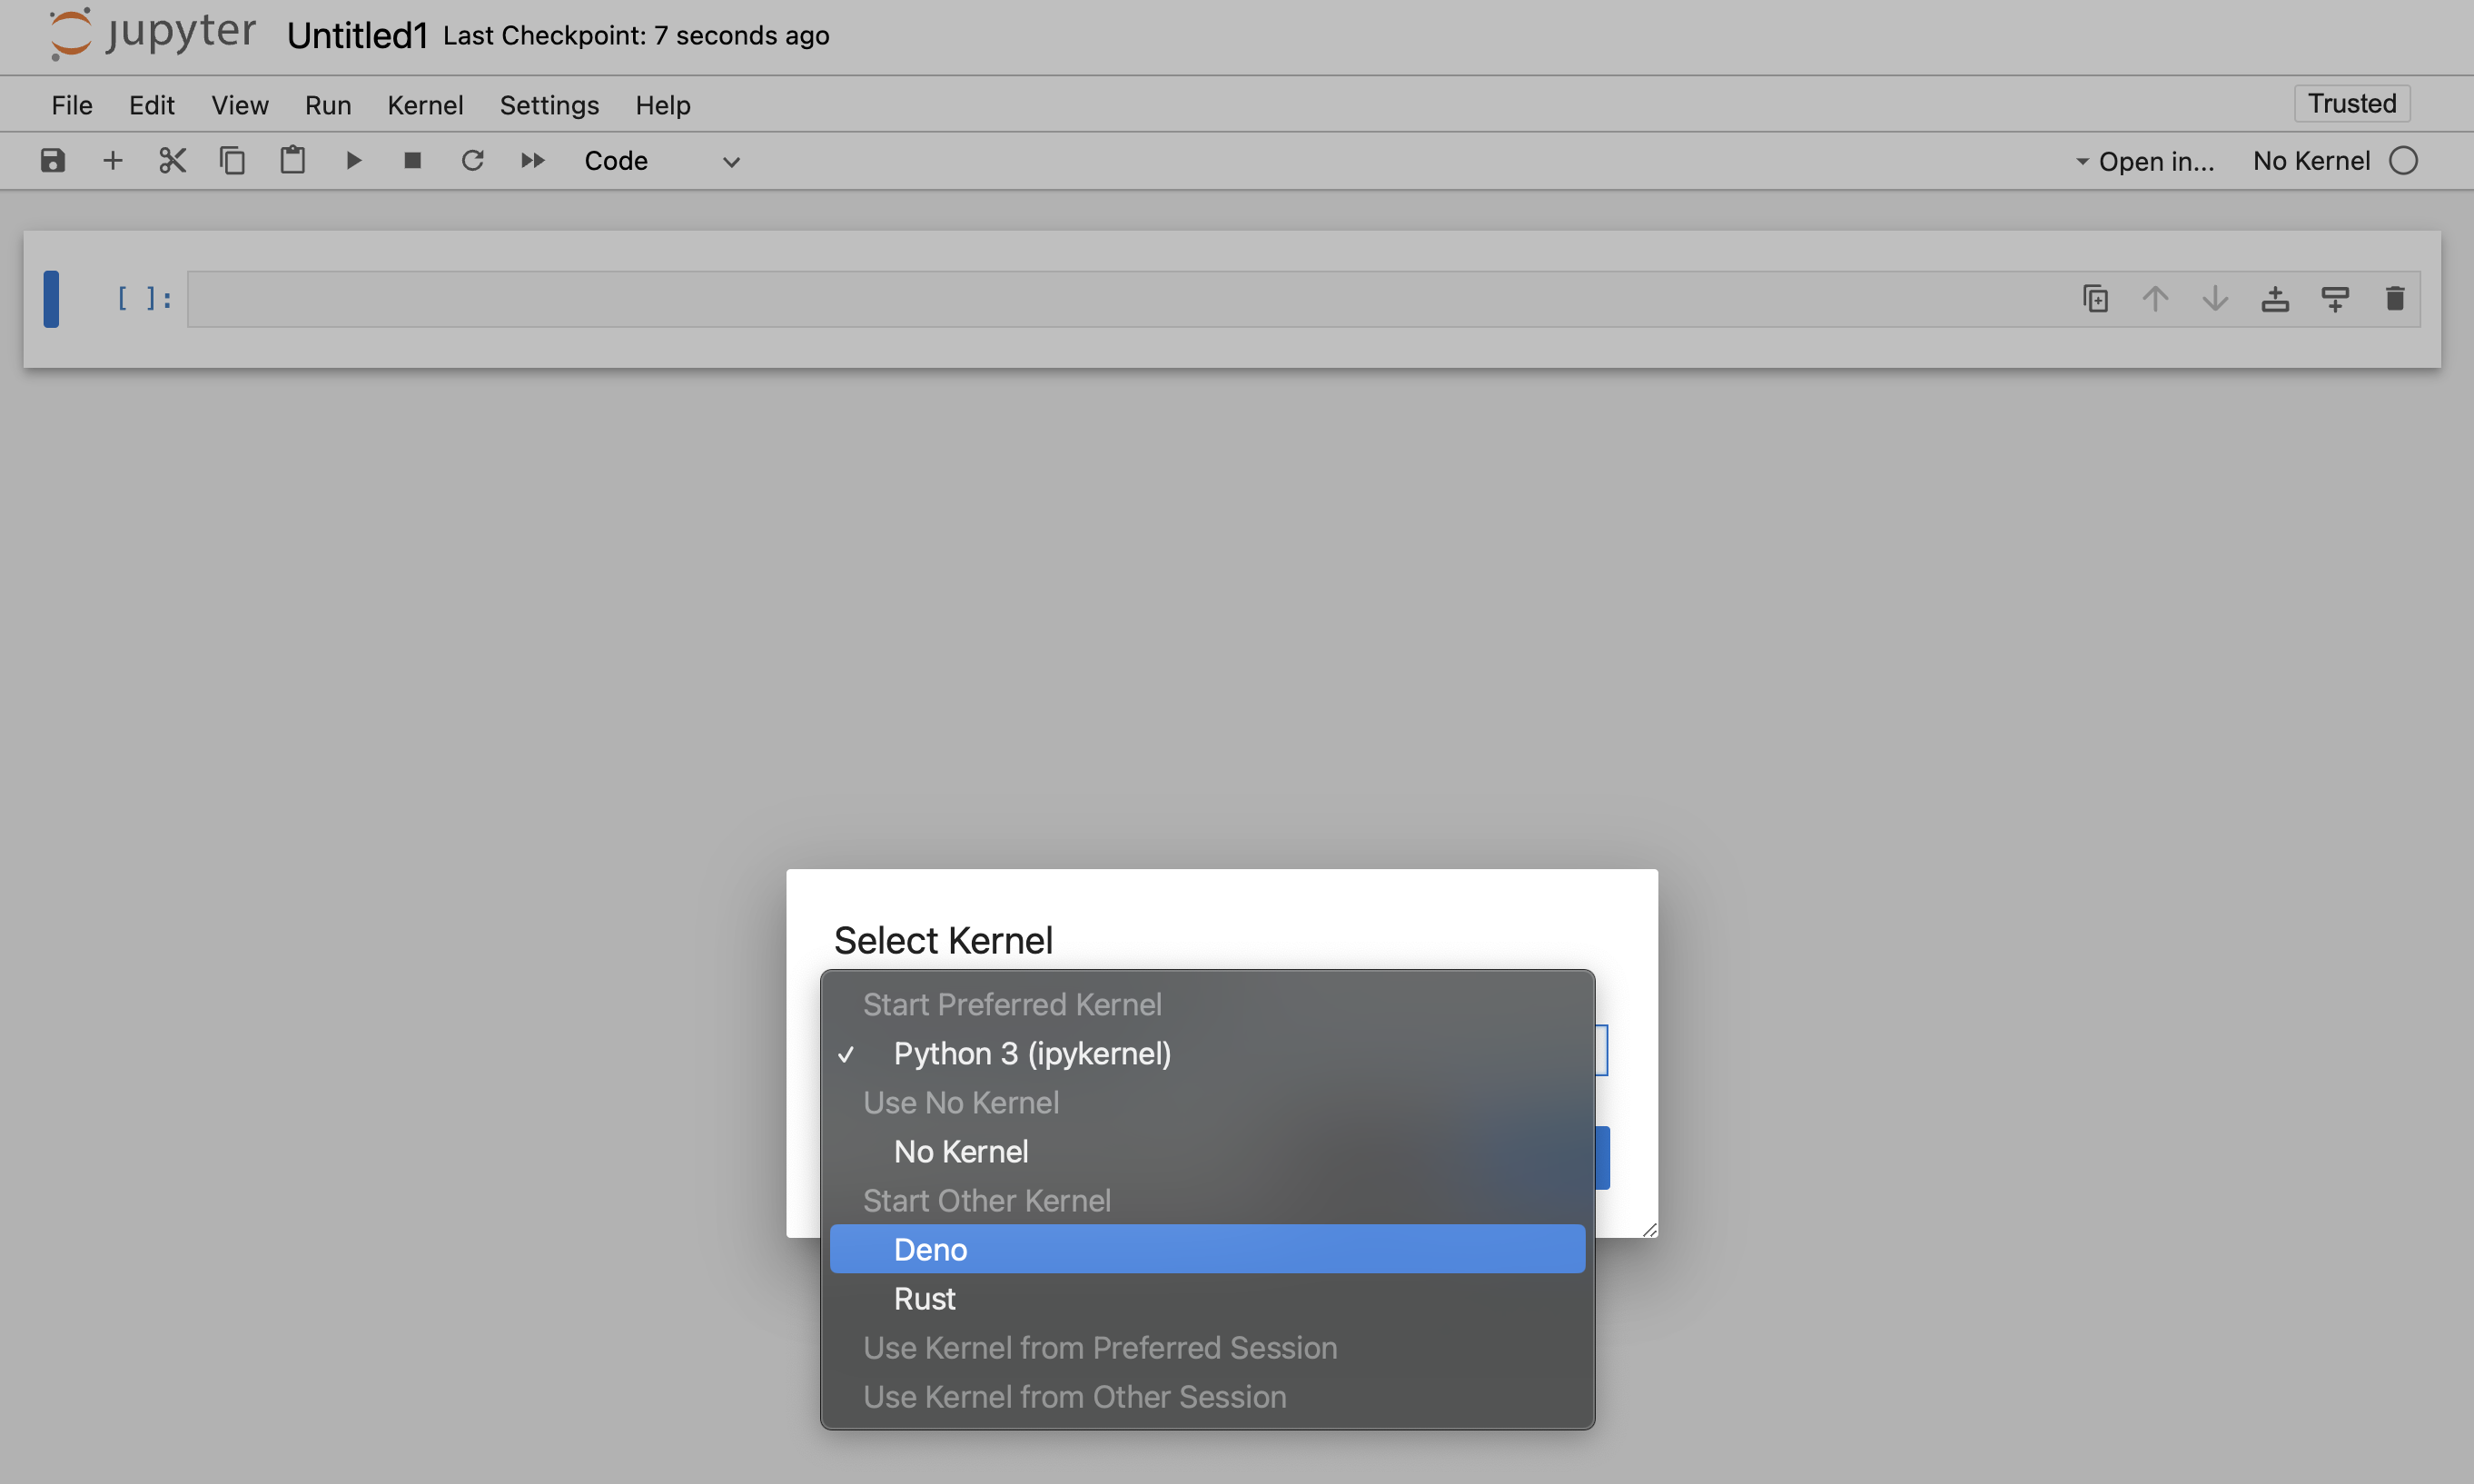
After completing the installation process, the Deno kernel will be available in
the notebook creation dialog in JupyterLab and the classic notebook:
You can use the Deno Jupyter kernel in any editor that supports Jupyter
notebooks.
### VS Code
- Install the
[VSCode Jupyter extension](https://marketplace.visualstudio.com/items?itemName=ms-toolsai.jupyter)
- Open or create a notebook file by opening the Command Palette (Ctrl+Shift+P)
and selecting "Create: New Jupyter Notebook". This can be done manually by
creating a file with the ".ipynb" file extension.
- When on a new or existing Notebook, click creating a new Jupyter Notebook
select "Jupyter kernels" and then select Deno

### JetBrains IDEs
Jupyter Notebooks are available right out of the box.
## Rich content output
`Deno.jupyter` namespaces provides helper function for displaying rich content
in your notebooks
[using MIME types that Jupyter supports](https://docs.jupyter.org/en/latest/reference/mimetype.html).
---
The easiest way to provide a rich output is to return an object that that has a
`[Symbol.for("Jupyter.display")]` method.
This method should return a dictionary mapping a MIME type to a value that
should be displayed.
```ts
{
[Symbol.for("Jupyter.display")]() {
return {
// Plain text content
"text/plain": "Hello world!",
// HTML output
"text/html": "
Hello world!
",
}
}
}
```
_Example of an object that returns plain text and HTML output._
:::info
You can also use `Deno.jupyter.$display` instead of typing
`Symbol.for("Jupyter.display")`
:::
This is a regular function, so you you can use any library you want to format
the output - eg. use `@std/fmt/colors` to provide a colorful output:
```ts
import * as colors from "jsr:@std/fmt/colors";
{
[Deno.jupyter.$display]() {
return {
"text/plain": colors.green("Hello world"),
}
}
}
```
You can also use `Deno.jupyter.display` function to directly display the MIME
bundle:
```js
await Deno.jupyter.display({
"text/plain": "Hello, world!",
"text/html": "
Hello, world!
",
"text/markdown": "# Hello, world!",
}, { raw: true });
```

Your notebook frontend will automatically select the "richest" MIME type to
display based on its capabilities.
---
`Deno.jupyter` provides several helper methods for rich output of common media
types.
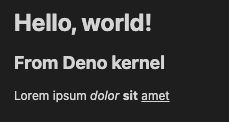
`Deno.jupyter.html` is a tagged template that will render the provided string as
an HTML in the notebook.
```js
Deno.jupyter.html`
Hello, world!
From Deno kernel
Lorem ipsum dolorsitamet
`;
```
`Deno.jupyter.md` is a tagged template that will render provided string as a
Markdown document in the notebook.
```js
Deno.jupyter
.md`# Notebooks in TypeScript via Deno 
**Interactive compute with Jupyter _built into Deno_!**`;
```

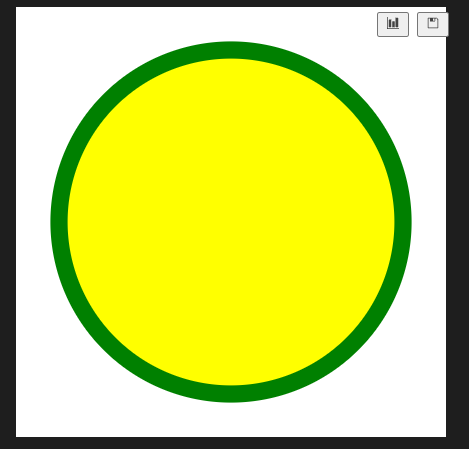
`Deno.jupyter.svg` is a tagged template that will render provided string as an
SVG figure in the notebook.
```js
Deno.jupyter.svg``;
```
`Deno.jupyter.image` is function that will render a JPG or PNG image. You can
pass a filepath, or already read bytes:
```js
Deno.jupyter.image("./cat.jpg");
const data = Deno.readFileSync("./dog.png");
Deno.jupyter.image(data);
```
## prompt and confirm APIs
You can use `prompt` and `confirm` Web APIs to wait for user input in your
notebook.
confirm and prompt APIs example
## IO pub channel broadcasting
`Deno.jupyter.broadcast` allows to publish messages to the IO pub channel
allowing to provide live updates as the cell is evaluated.
Consider this example that prints a message before we start a computation and
another when the computation is finished:
```js
await Deno.jupyter.broadcast("display_data", {
data: { "text/html": "Processing..." },
metadata: {},
transient: { display_id: "progress" },
});
// Pretend we're doing an expensive compute
await new Promise((resolve) => setTimeout(resolve, 1500));
await Deno.jupyter.broadcast("update_display_data", {
data: { "text/html": "Done" },
metadata: {},
transient: { display_id: "progress" },
});
```
Deno.jupyter.broadcast API example
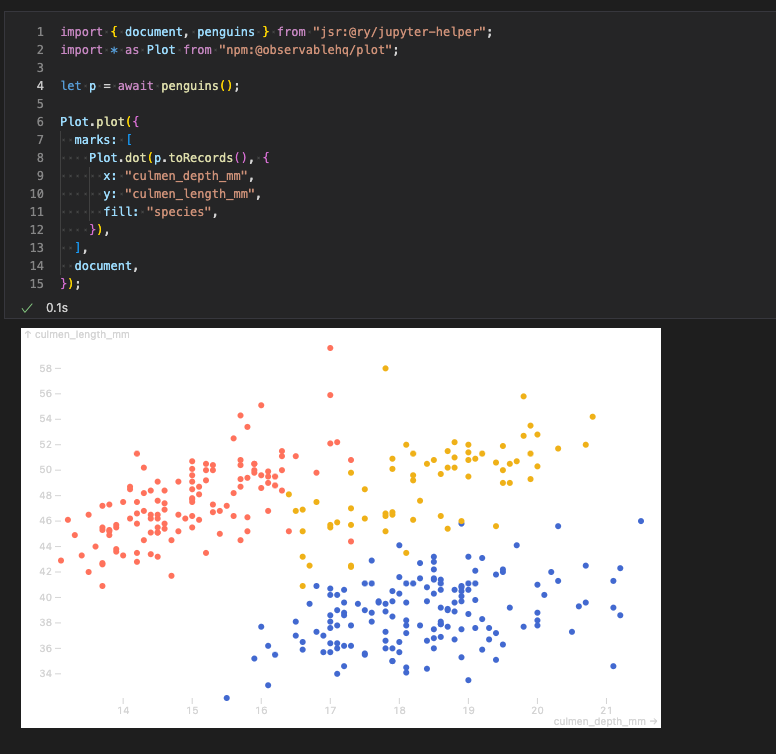
## Examples
Here's an example of using `@observablehq/plot` to generate a chart:
```ts
import { document, penguins } from "jsr:@ry/jupyter-helper";
import * as Plot from "npm:@observablehq/plot";
let p = await penguins();
Plot.plot({
marks: [
Plot.dot(p.toRecords(), {
x: "culmen_depth_mm",
y: "culmen_length_mm",
fill: "species",
}),
],
document,
});
```
See https://github.com/rgbkrk/denotebooks for more advanced examples leveraging
data analysis and visualisation libraries like Polars, Observable and d3.
## `jupyter console` integration
You can also use Deno Jupyter kernel in the `jupyter console` REPL. To do that,
you should launch your console with `jupyter console --kernel deno`.